
Inside Manga: CREATING PROCESS

During this mini tutorial, I'll be discussing the basic process for creating comic work that I personally use.
Please keep in mind that this is how I work and one does not need to adhere to these guidelines, those
these are the general basics on how to create your work.
ENJOY! :D
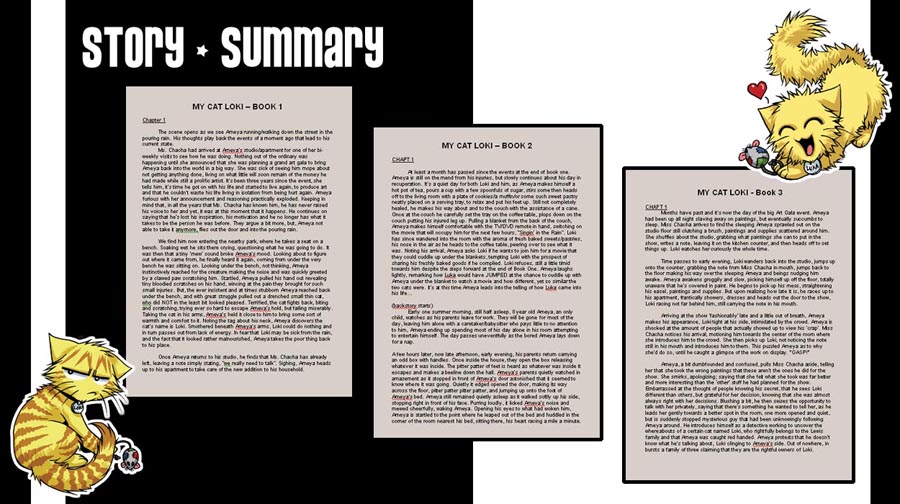
When working for a company, such as TOKYOPOP, you will be required to submit a summary for an at least 3 book series. Here, each book has been summarized in a single page format, one page per book, which will later be broken down into individual chapters.
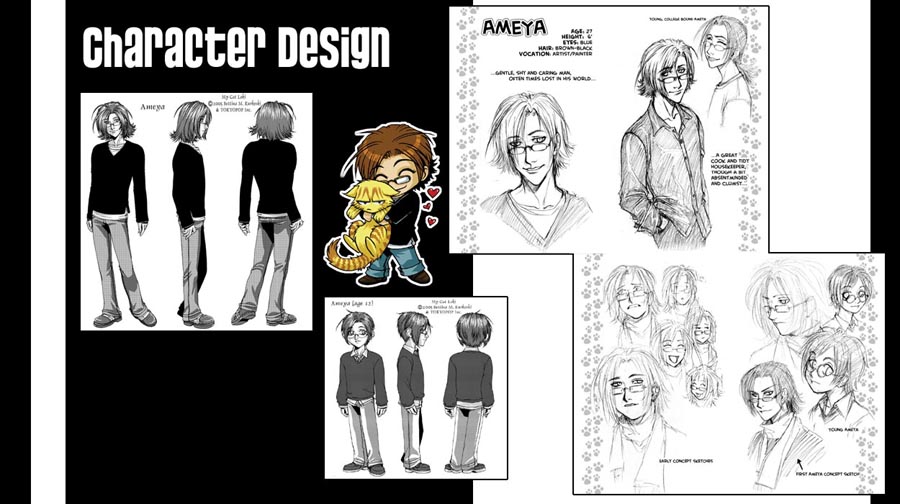
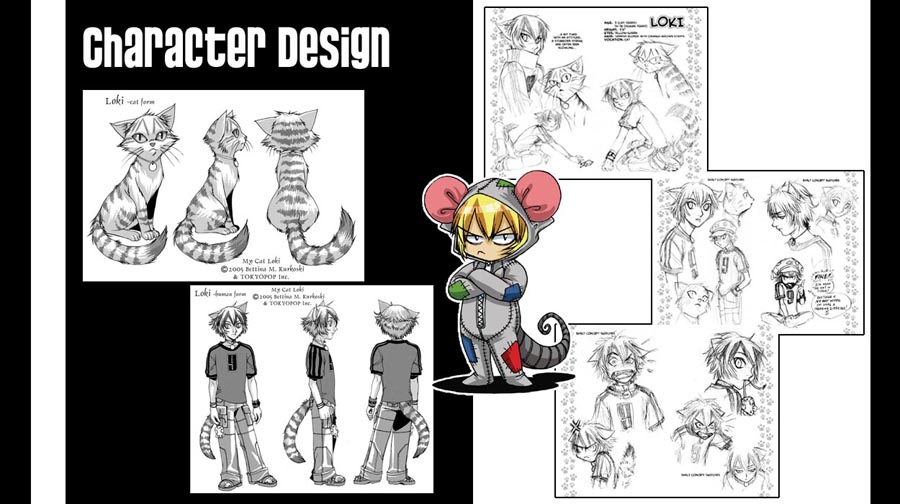
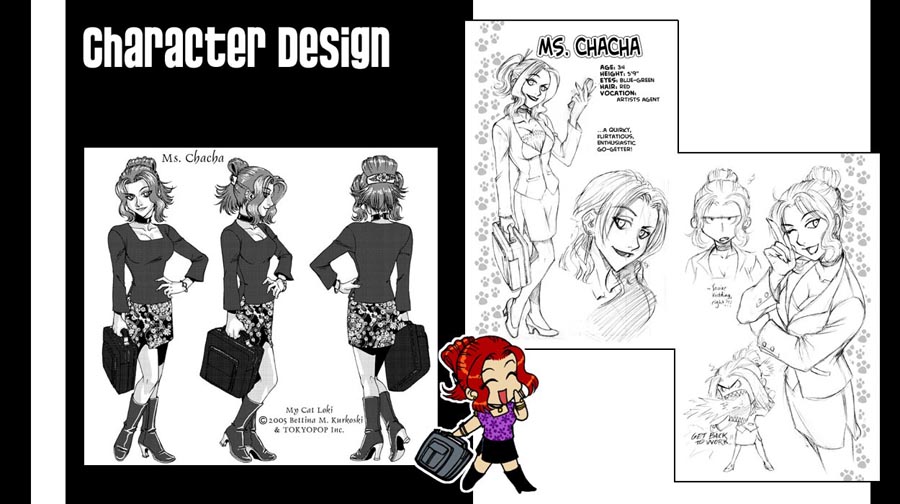
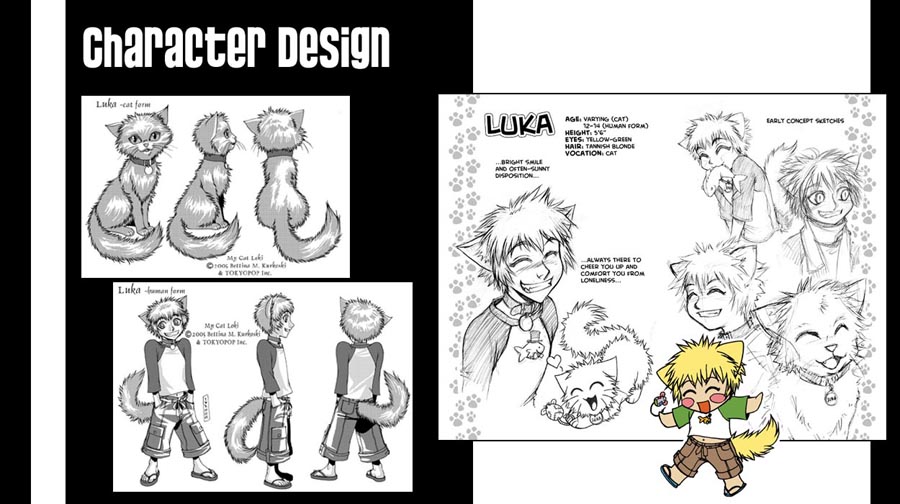
Also when working on your story, one must create model sheets of all characters within. Here and the following 3 images are the original model sheets, along with various sketches, for my MY CAT LOKI series. It IS highly recommended that this step be done so that one may keep consistant character designs throughout their series. It also helps to get to know your characters better when sketching them in various poses and facial expressions.
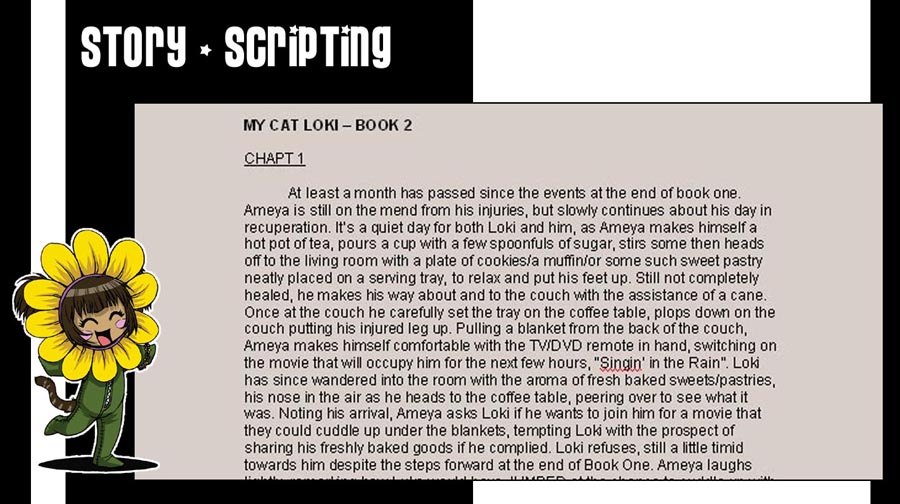
It's at this point where we break down the book summaries into individual DETAILED summary chapters, with about 6-8 chapters per book. Most creators/writers will actually take it further and do full scripts that include page-by-page and panel-by-panel breakdowns that includes dialogue and panel descriptions. I, personally, am an artist before I'm a writer and prefer to do a detailed chapter-to-chapter summary before diving into storyboarding, writing all dialogue during that process.
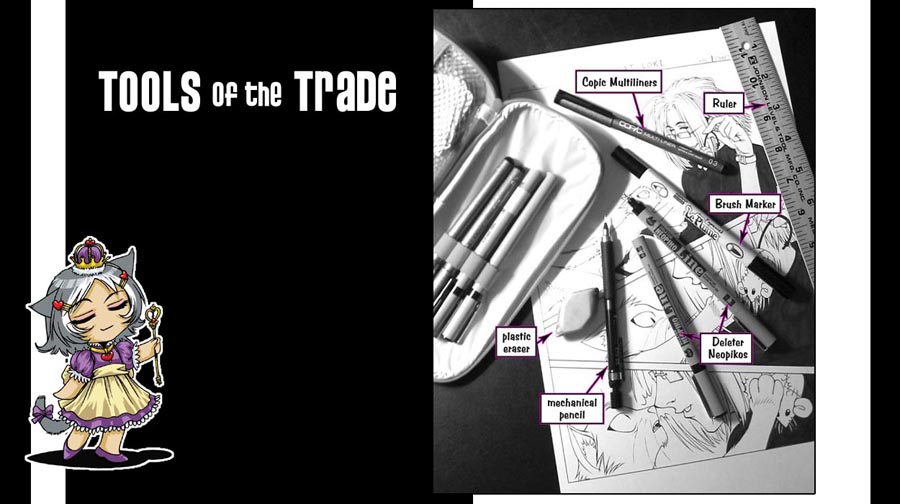
Shown here are the basic tools I work with in creating the comic page art.
-mechanical pencils
-plastic erasers
-Neopiko ink liners (for main body inking)
-Copic Multiliners (for background inking)
-black ink brush marker (for filling in the blacks)
-an 18" ruler
-paper for the comic pages
-and of course a loverly pencil case to hold all my wonderfully inexpensive, easy-travel-with tools :D
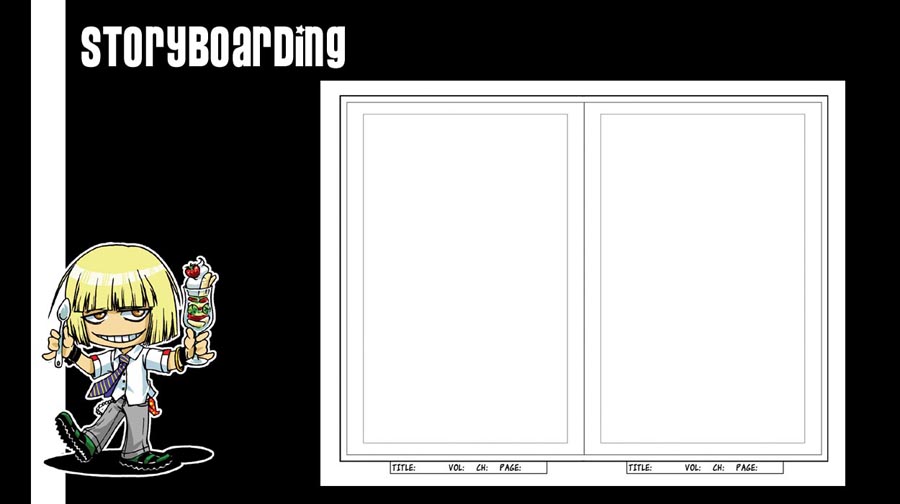
For storyboarding, I work at 'print size', with 2 pages per 8.5x11 sheet of copy paper, of which I have created my own template, which I print out as needed.
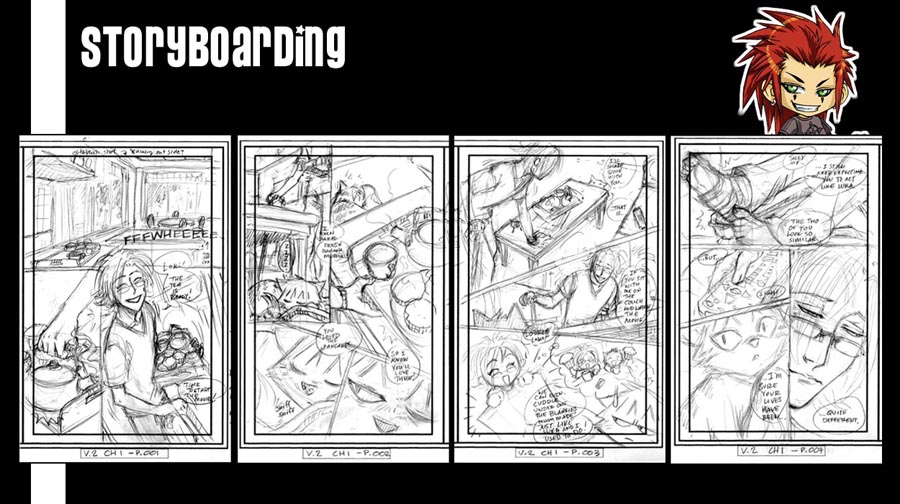
Here you can see the ORIGINAL storyboards created for MY CAT LOKI #2. As mentioned before, I do all my dialogue scripting directly on my storyboards so that I have a better sense of what's going on in each panel, both with action and text balloon placement. From here I'll then SCAN my storyboards in via scanner and PHOTOSHOP 7.0, for both approval from my editor and to have a digital copy of my work, which will come in handy for the next stage! :D
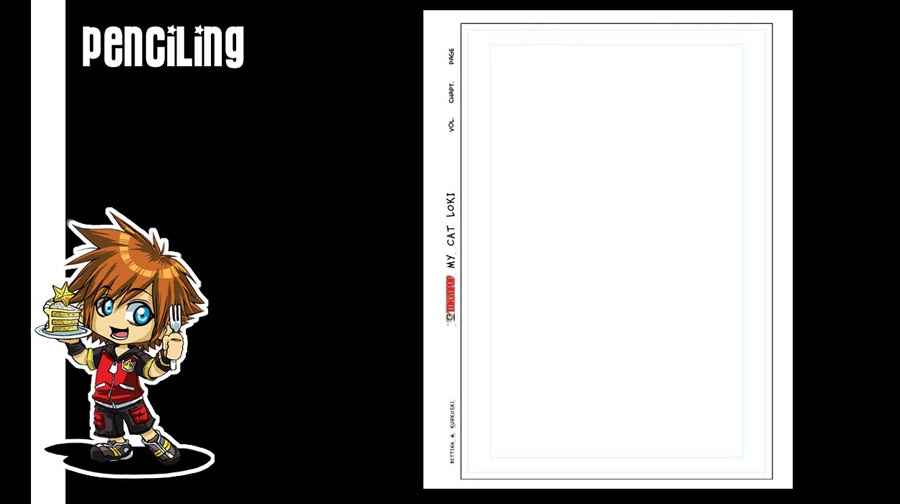
For pecnilling, I work on an 8.5x11 sheet of Strathmore Series 400 sketchbook paper, of which, again, I have created my own template, which I print out as needed.
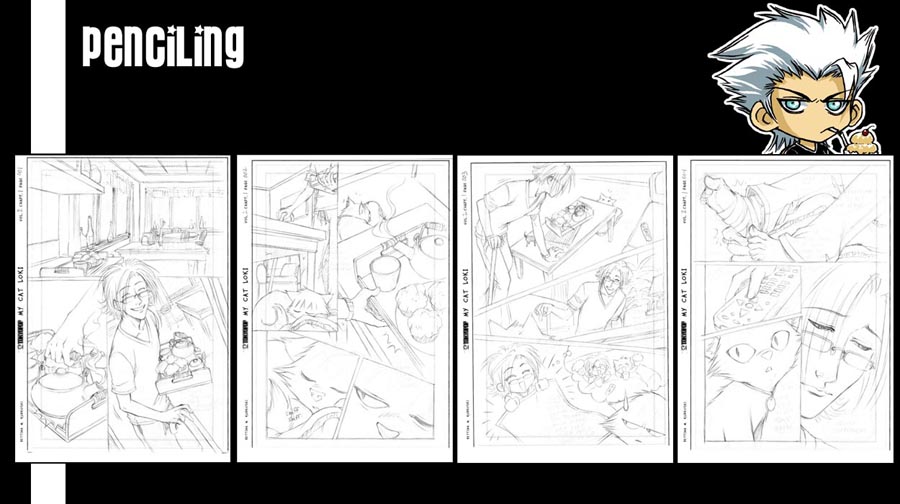
Again, here are the original pencils from MY CAT LOKI #2, of which I have taken my storyboards, in Photoshop, changed the lineart to a light blue and printed them out along with the full page template onto the final pencilling paper. Because the storyboards are printed directly onto the pencilling template, this saves me a BOAT LOAD of time in both transferring the storyboards to the pencilling paper AND now I don't have to erase my under-sketching as well. In turn, my pencilled lines are crisp, clear and clean! From here, once the pages are pencilled, they are once again scanned in via a scanner and Photoshop for both approval from my editor and to have a digital copy of the pencils to perserve them for the NEXT stage! :D
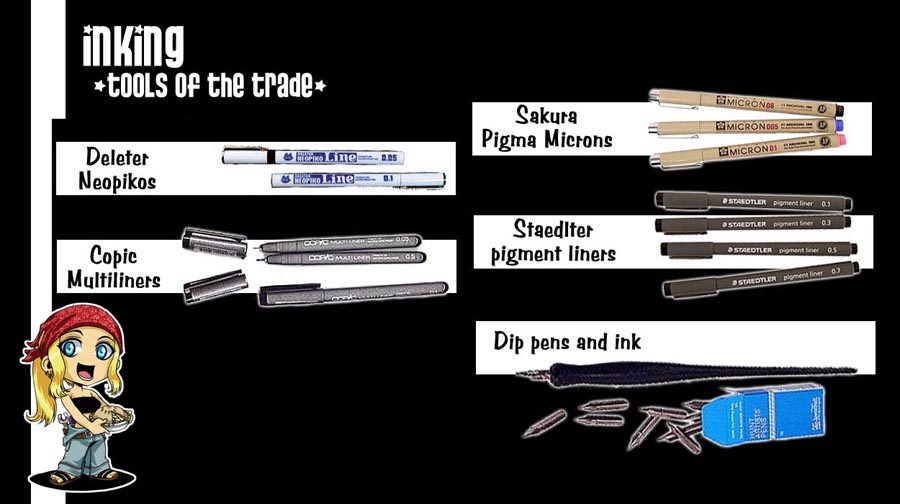
Shown here are a few of the MANY different types and brands of inking tools available for your inking need!
-NEOPIKO INK LINERS ( I HIGHLY RECOMMEND these! Has a really nice dense ink that won't fade when erased over!)
-COPIC MULTILINERS (I personally use these for all my background inking needs, they do tend to fade a little when erased over)
-SAKURA PIGMA & STAEDLTER PIGMENT inking pens (both tend to fade when erased over and a tendency to bleed on most paper types.
However, both are greater 'beginner inking' pens as they are easily found in most crafting supply stores in the scrapbooking
departments and are rather inexpensive)
-DIP PENS & INKS (not the easiest nor neatest way to ink, but definitely something to try! Does take a LOT of practice to
master!)

Here, again, are some of the original inked pages from MY CAT LOKI #2. I had taken my digital files created from scanning my pencils, turned the lineart light blue (similar to what was done with the storyboards for the pencilling stage) and printed them out again with the custom sized template onto 8.5x11 Strathmore Series 400 sketchbook paper. I then ink over the blue lines, and because the lines will not show when the finished inked pages are scanned in, I don't have to worry about wasting a great deal of time and energy erasing my pencils. BONUS part of this process is that, should I make a mistake with my inks that are irrepairable in Photoshop, I can simply reprint a new page and start my inking over again because my original pencils have been preserved and not ruined! :D Once the inked pages are complete, I, again, scan and edit them, via scanner and Photoshop, for approval from my editor and to have a digital copy for the NEXT stage! :D
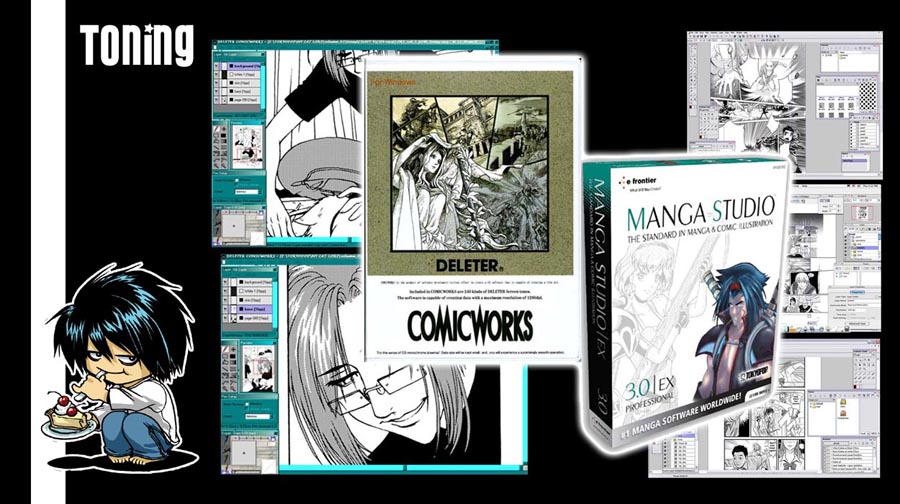
Here we have to two most readibly available digital toning programs on the market today. Though they are both created specifically
for creating comicbook art, you are not limited to them and can easily learn to tone in Photoshop
as well! :D
-DELETER COMIC WORKS - This is currently my program of choice for toning. It is a nice sleek, simple and easy to learn digital toning
program with an interface similar to the Open Canvas painting program.
-MANGA STUDIO DELUXE/DEBUT - This program is not for the faint of heart. It is quite comfusing unless you REALLY know your way
around most programs. While it does provide far more tones and techniques than Comic Works, again, it's a far more complicated
beast to master and I personally donot recommend it for beginners.
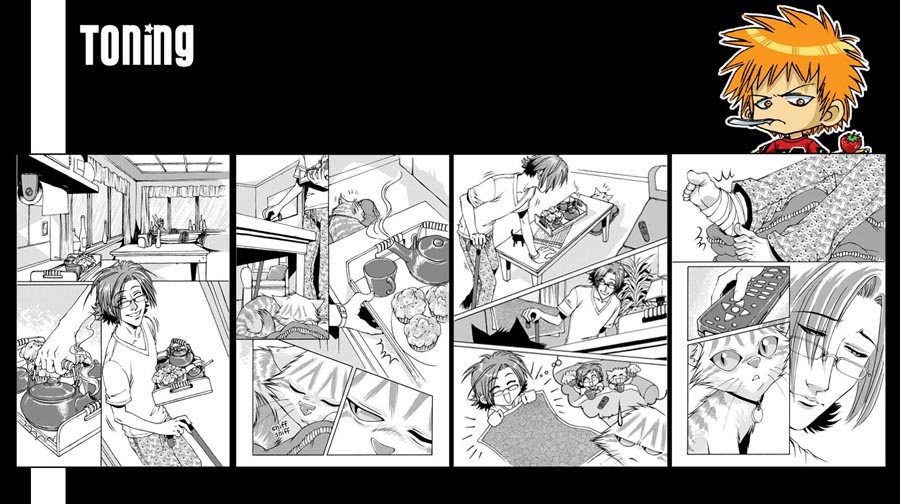
With my inks having been scanned and edited in the previous stage, I then import JPEG formated files of my inks into Comic Works and do all my toning here, making sure to save TWO copies of each tone file, both in Comic Works and Photoshop format incase any changes are to be made later.
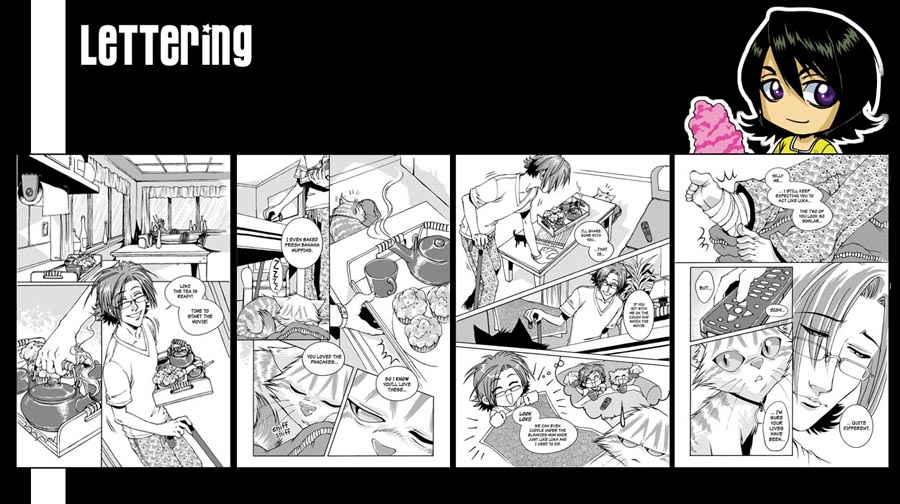
Last, but certainly not least, is the lettering stage!
I do all my text work in Photoshop, importing my files into Comic Works to create all my digitally handdrawn balloons.
I'll also handletter most of my sound effects if I can't find appropriate existing fonts to match what I need, in which case,
those too, are scanned, edited and added to the final page files in Photoshop.
And THAT'S IT! :D
If you have any particular questions about any part of this tutorial,
please feel free to contact me via email! :D
THANK YOU MUCHLY FOR READING! :D
UPCOMING EVENTS & APPEARANCES
PLIMOTH PATUXET WINTER FINE ARTS & CRAFTS FAIR
Plimoth Patuxet Museums
December 2 & 3, 2023
Saturday & Sunday | 10am - 4pm
Plimoth Patuxet Museums - Plymouth, MA